Setting up AIX on an RS6000 ThinkPad
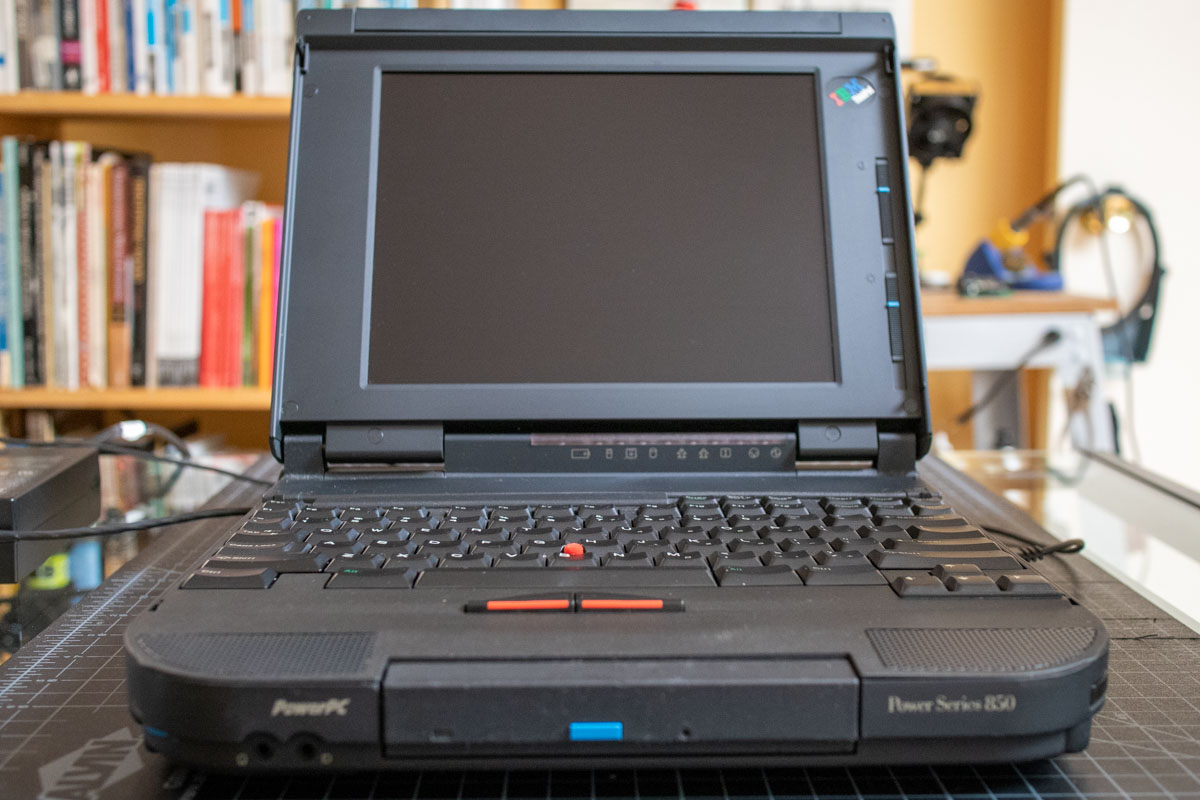
The IBM ThinkPad Power Series is a PowerPC-based line of laptops designed to run Unix or Windows NT. Because it’s based on the PowerPC processor, you can’t just install an operating system intended for Intel-based computers.
I owned one of these back in the late 1990s, and I regret selling it. A friend of mine loaned me his ThinkPad 850 after retrieving the data he needed from it. With his data stored safely away, he gave me permission to reinstall the operating system. He had two hard drives for it, one that had Windows NT, and another with AIX 4.2. Unfortunately, both the AIX install discs and the password were lost to time, so there wasn’t an easy way to get it up and running again.
I figured I’d just look around the Internet for installation media and burn it to a CD-ROM. For whatever reason, that did not work. I came across a note somewhere (unfortunately I did not bookmark it) that indicated the CD-ROM needs to be written with 512-byte blocks. I already had a RASCSI on its way for some other projects I’ve been working on. RASCSI allows you to emulate SCSI storage devices using a Raspberry Pi. It also allows you to specify the block size of the media when you mount it, so I didn’t have to worry about figuring out how to burn the disc in a way that would keep AIX happy.
There are several versions of the RASCSI hardware available. I went with the assembled (Standard) version from Vintage Computer Center. You can find documentation on setting up RASCSI on the project’s GitHub wiki. Although there are preconfigured images available, I installed it over a vanilla Raspberry Pi OS installation and followed these instructions.
Connecting the RASCSI
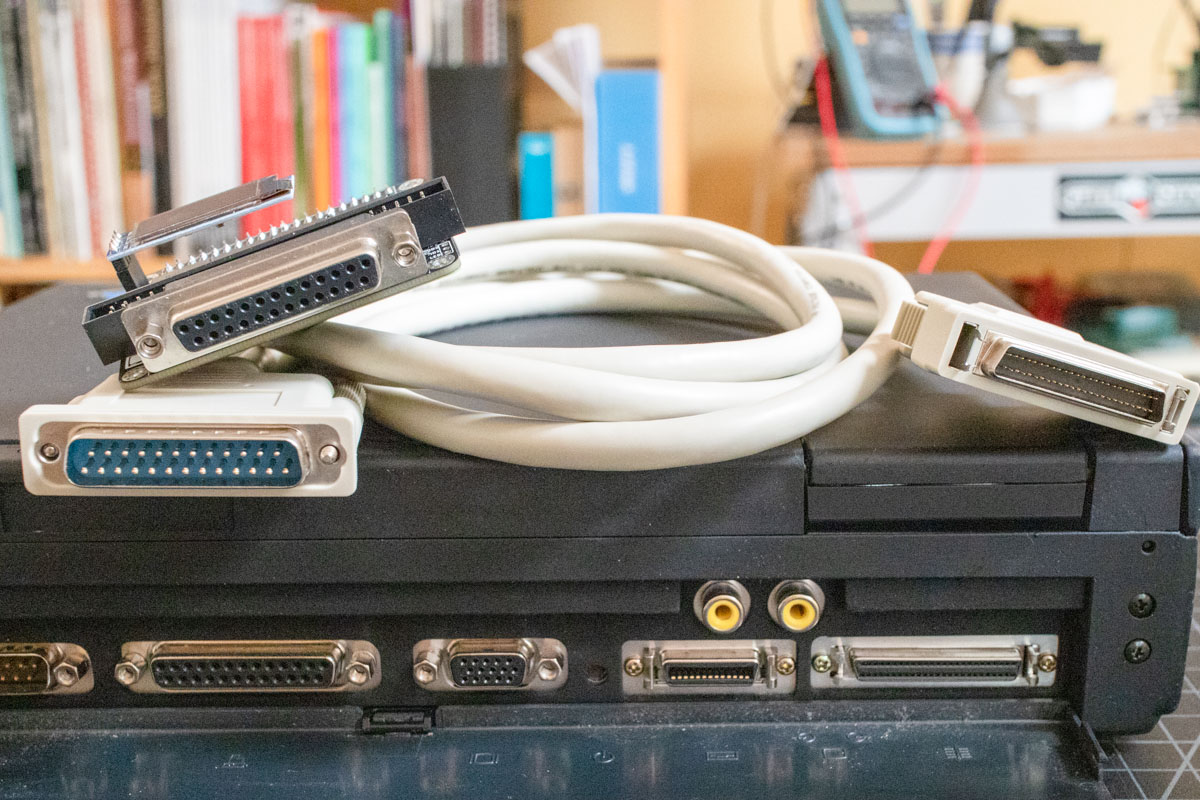
Make sure both the RASCSI and ThinkPad are powered down for this step. You will need a very specific cable, as shown below (the RASCSI is sitting on top of the cable). I picked up a 6ft SCSI II cable HPDB50 (Half Pitch DB50) Male to DB25 Male from darkmoonwholesale on eBay. If you aren’t able to find that cable anymore, make sure it’s a SCSI II cable, that both ends are male, and that one is a DB25 and the other is half-pitch DB50.
First, make sure termination is enabled by moving switches 1 and 2 to the ON position. If you are using a RASCSI board older than 2.1, check the documentation.
Make sure the RASCSI and ThinkPad are powered down, connect the cables, and power up the RASCSI, but don’t boot up the ThinkPad yet.
Booting from RASCSI
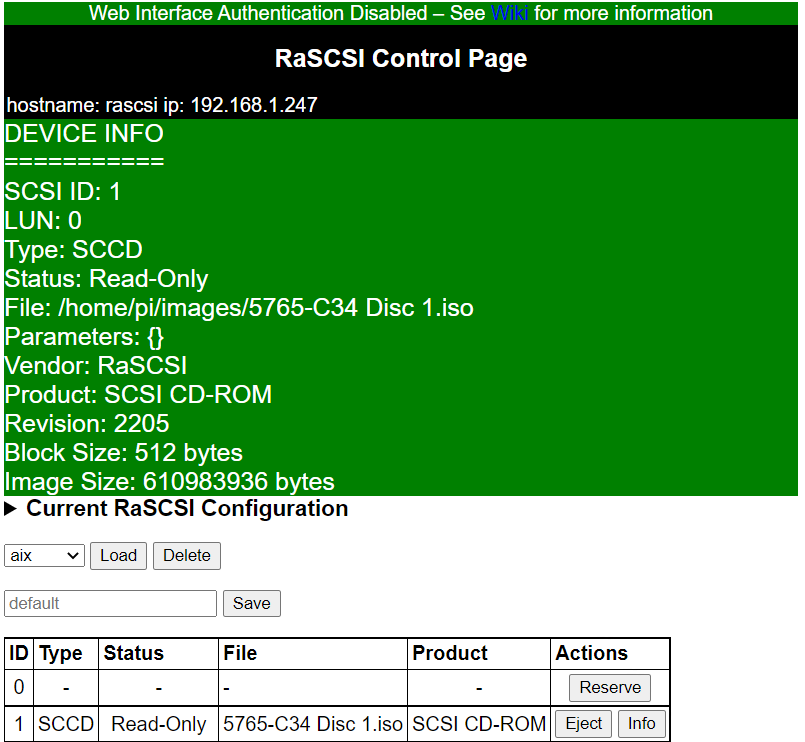
I copied the AIX 4.2 installation ISO over to the RASCSI, and after sshing into the RASCSI, I ran rasctl -b 512 -i 1 -c attach -f "5765-C34 Disc 1.iso" to mount it (the RASCSI runs a full Raspberry Pi OS so you can ssh into it). Although I can mount images from the RASCSI web GUI, it did not allow me to specify a block size, so I used the command line. However, I found that if I saved my RASCSI configuration in the web GUI as ‘default’, it remembers the block size each time I boot up.
You’ll need to start up the ThinkPad’s Easy-Setup configuration utility. Power up the ThinkPad, wait for the startup tune, press F1, and the Easy-Setup screen should appear. Click Start Up, and the boot device options should appear. Click Clear, and then click to choose your boot devices. You probably have an internal CD-ROM, so just choose both CD-ROMs and make sure they come before your hard drive (HDD 1). Click OK, and then click Exit back at the main Easy-Setup screen.
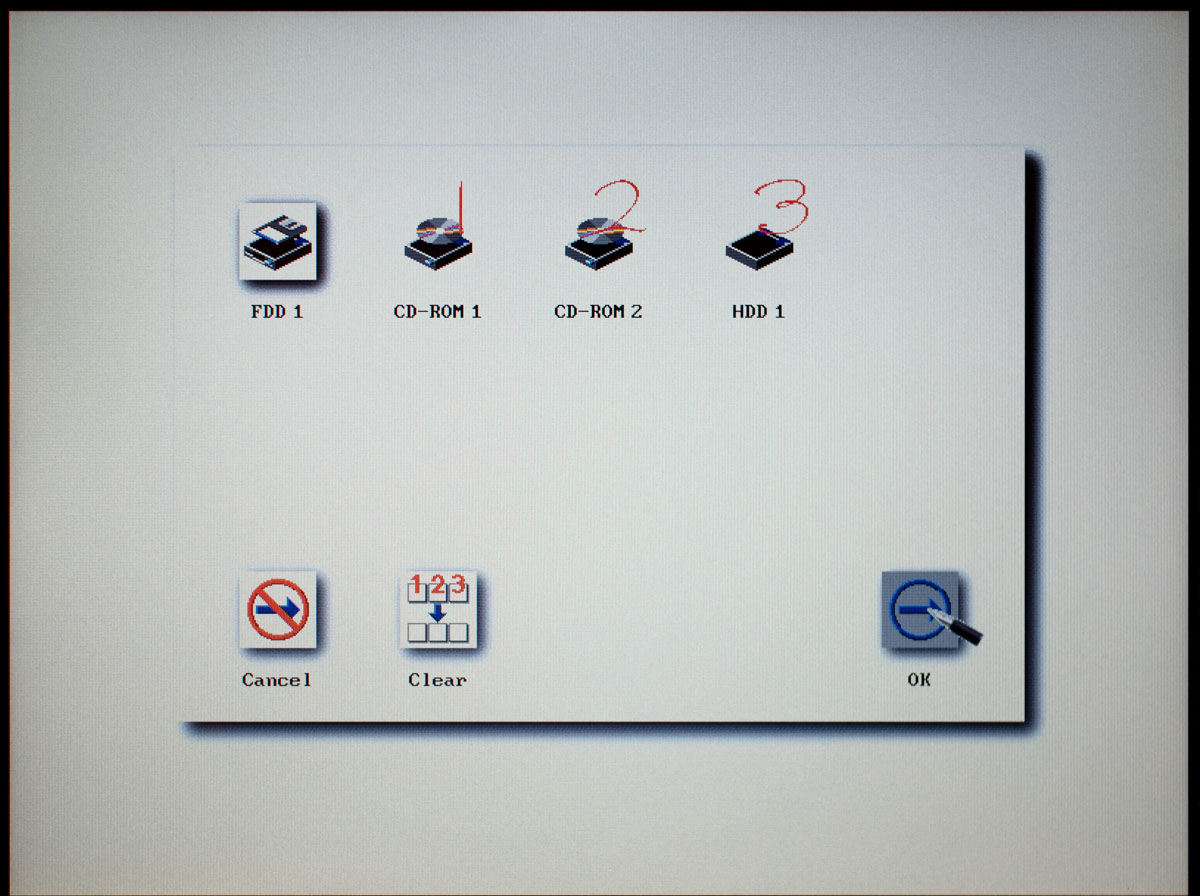
The ThinkPad should now boot. If all goes well, it will boot from the CD-ROM image and you will be greeted with the first of many menus in the installation process:

Installing AIX
The first part of the installation takes place in text mode. You’ll need to choose which language to use during installation, and then specify options, such the hard drive to install AIX on and the language/locale of the installed operating system.


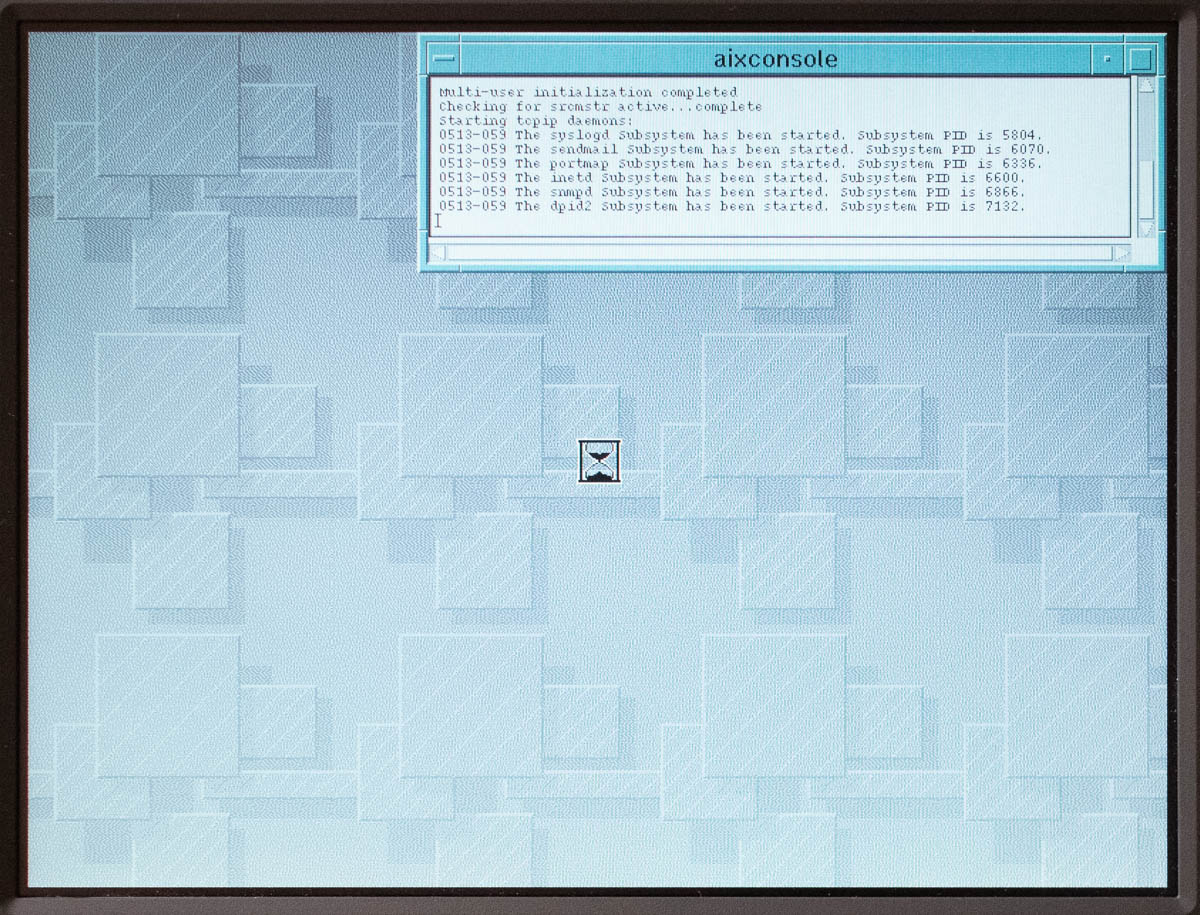
Follow the on-screen instructions. After the text-mode installation is completed, you will reboot into the graphical-mode installation. The console will appear first and will show you the startup progress. When the system is up and running, the Installation Assistant appears.

You should check over each task, read the on-screen documentation, and decide which installation tasks to perform. Here’s what I did:
- Verified and set the system date and time. I’m not sure how Y2K compliant AIX 4.2 is, but it did allow me to set the date in 2022!
- Set the root password.
- Configure network communications. This will only work if you have a supported PCMCIA network adapter such as the IBM Ethernet I or Ethernet II (see ibmfiles.com for a list of supported adapters and some part numbers). The process is relatively straightforward except for one confusing bit at the end:
- Click Configure Network Communications in the assistant.
- Scroll down to “Go to first subtask, Configure TCP/IP”
- Click the LAN icon and wait for the SMIT (System Management Interface Tool) utility to open. Click Use DHCP for TCPIP Configuration & Startup.
- When prompted, choose “any” or “en0” for the network interface.
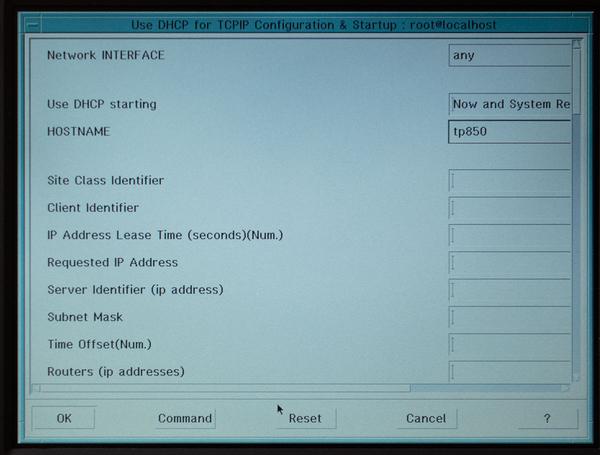
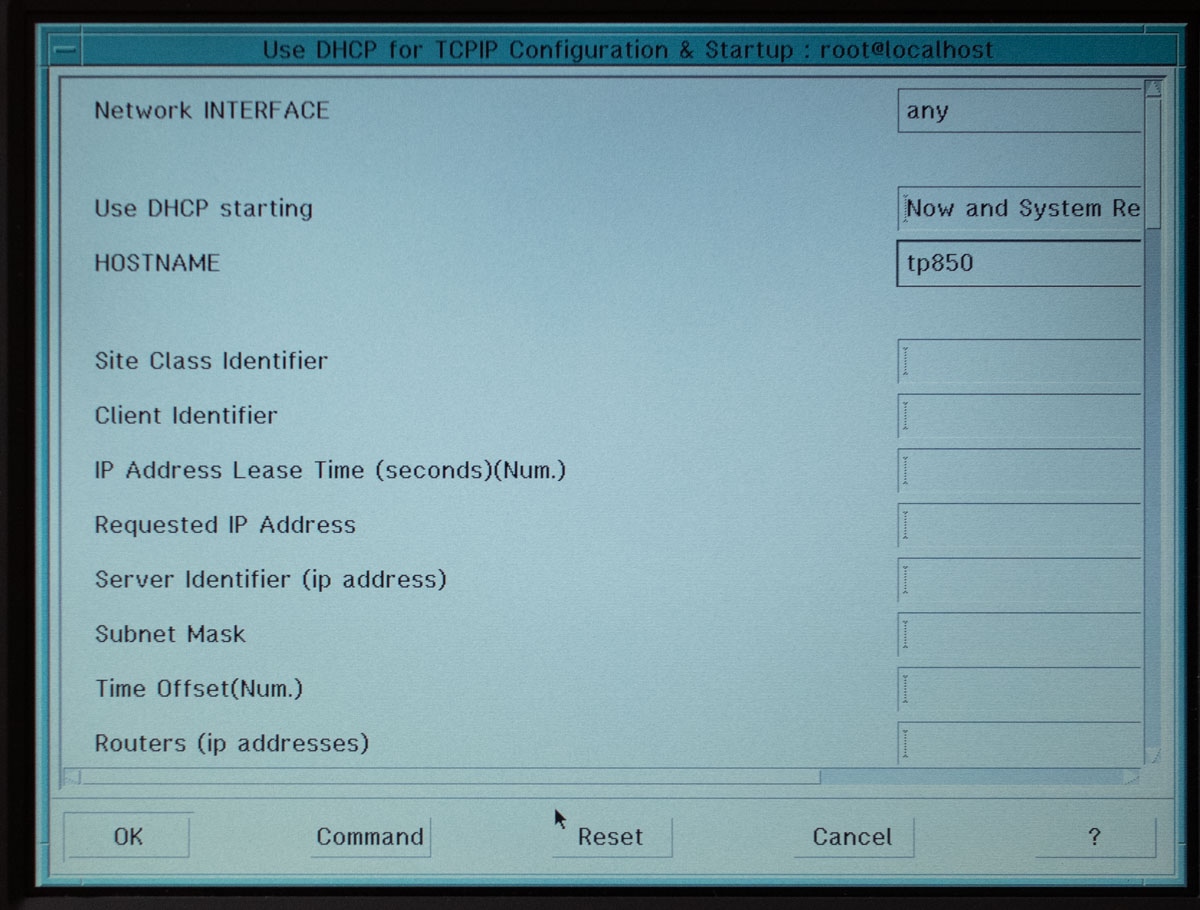
- On the screen that appears, make sure that “Use DHCP starting” is set to “Now and System Restart” and choose a hostname for your ThinkPad.
- Click OK. A new window will open and SMIT will perform the configuration.
- When the configuration is done, click the Done button. This will take you back to the DHCP configuration dialog. Although it seems counterintuitive, you need to click Cancel here. If you click OK again, it will just re-run the configuration again.
- Install Additional Software. The Personal Productivity bundle should include most of what you need, but later on you might find that you need more.
- Click the Install Additional Software task, and then choose the third subtask, Install a Bundle of Software.
- Click the icon listed in the instructions (“Click the picture and wait for the Visual System Management graphical application”.)
- When a dial appears asking which software source and which bundle of software, choose your CD-ROM (you may need to try both cd0 and cd1 to see which one corresponds to the RASCSI CD-ROM). Choose Personal Productivity, and click Install/Update.
- When finished, click Done in the window that appeared after you clicked Install/Update, and then click Exit when you go back to the previous window.
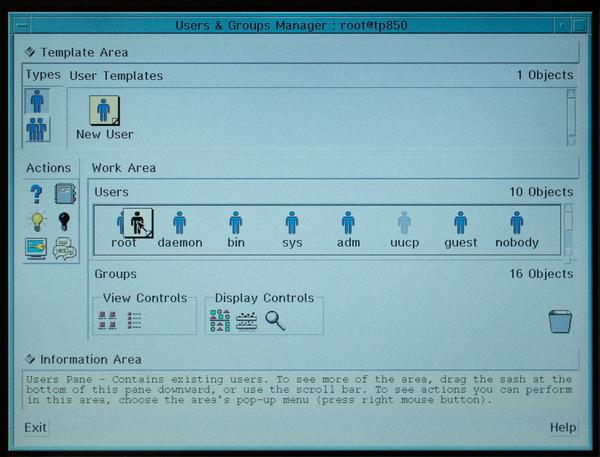
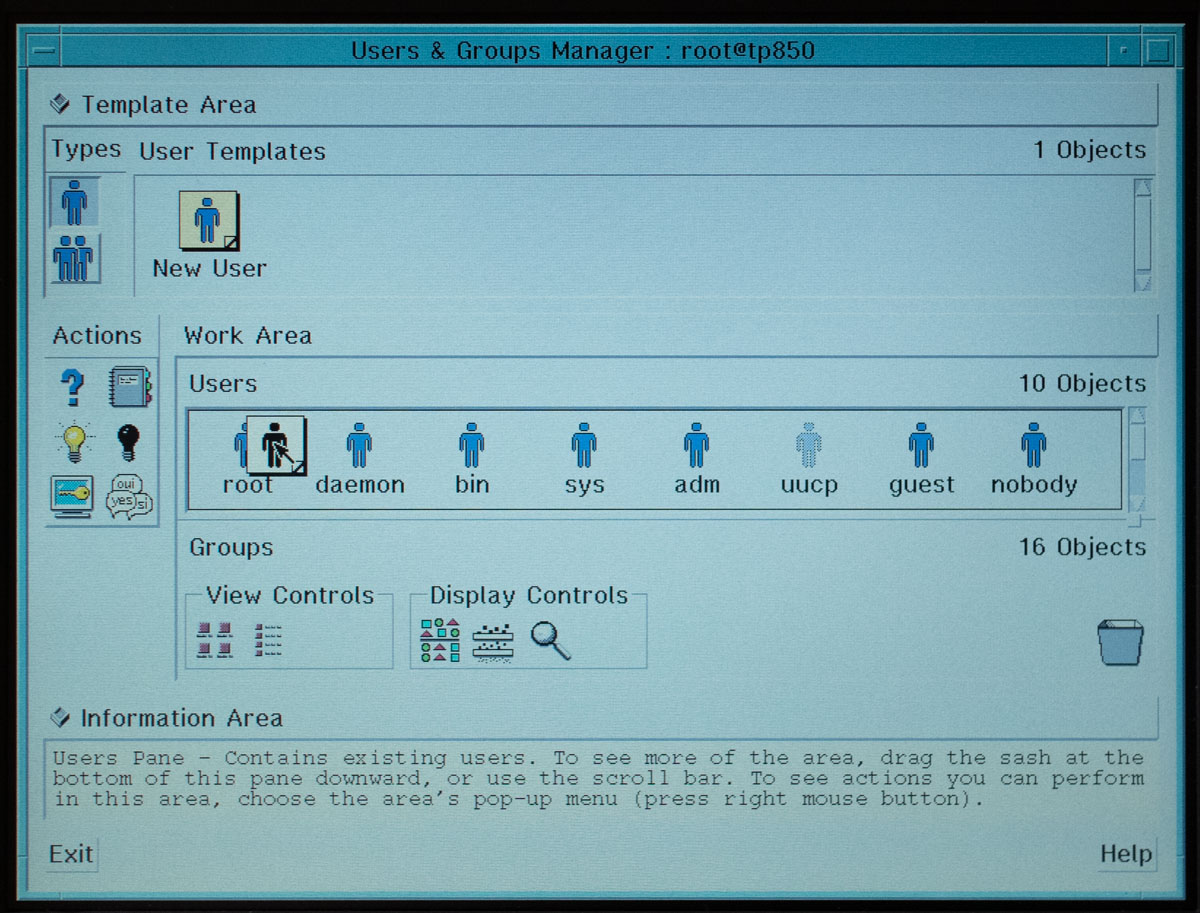
- Create Users. Click the task, and then click the icon that is shown in the instructions.
- A window will appear where you can drag the New User icon to the “Users” work area. I could not get this to work with the left or right mouse button on the ThinkPad. But when I clicked and dragged with both buttons, that worked for some reason. Drag New User to the Users area.
- Specify the user name and leave everything else untouched, then click OK.
- After the user is created, click Done, and then click Cancel when you return to the Add a User screen.
- A window will appear where you can drag the New User icon to the “Users” work area. I could not get this to work with the left or right mouse button on the ThinkPad. But when I clicked and dragged with both buttons, that worked for some reason. Drag New User to the Users area.
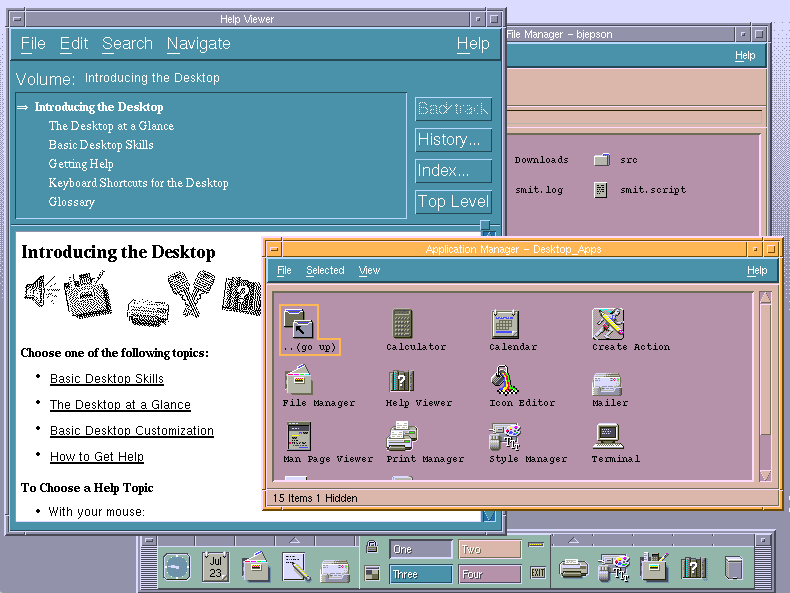
At this point, I exited the installation assistant. It automatically prompted me to increase the paging space, so I followed its instructions. It then rebooted into the Common Desktop Environment (CDE) login window.
First Login
The user account you created earlier won’t have a password set yet, but you can do one of two things to remedy that:
- Log in to CDE as root with the root password you specified during setup. Open a Terminal window (click the arrow above the icon for the Text Editor and choose Terminal), and type
passwd <your user name>and press Enter/Return to create a temporary password for the user you created earlier. - From another computer, telnet to your ThinkPad using the hostname you specified during the DHCP setup. Log in as root, and run the command
passwd <your user name>to set a password.
In most network configurations, your router should be able to resolve that hostname. You may need to append a local domain to the hostname, such as.local,.home, or whatever domain your local network uses.
If you need to install a telnet client on a Windows machine, you can install it with the Turn Windows Features On or Off control panel. On Linux, you can try using your package manager to install telnet (for example,sudo apt install telnet). On macOS, you can install it using Homebrew.
You’ll be prompted to change your password when you log in as this user for the first time.
Once you’ve done that, you can log in to CDE as the user you created and begin using AIX!
Next Steps
Check out the followup post, Customizing AIX on an RS6000 ThinkPad.
Tagged thinkpad, powerpc, aix, rs6000, raspberry-pi